

Basic setup
Get your account ready to sell, step by step. Company details, products, currencies, tax, shipping, gateways, customer emails, your shop's look and your team.
This page walks you through the dashboard settings to check before your first sale, in the order most accounts do them. Each step also names the API call, if you would rather set it up from code.
Test and live keep their own settings, products, emails and users. Set things up in test mode first, then do the same in live (the LIVE / TEST switch at the top of the dashboard). See Account and test mode.
What you start with
A new account already has:
- Every customer email turned on (receipts, invoices, subscription reminders and more).
- One shipping method, Standard Shipping, priced by order subtotal.
- The Comecero Test Gateway in test mode.
- USD as the default payment currency and UTC as the time zone.
- No tax rules, so no tax is charged until you add them.
Your company details
Open Account Info (under Administration). Fill in your company name, contact details and address, and a Customer Service Email: it shows on your shop and is where replies to order emails go. Leave it empty to hide it.
Then, under Settings > Company Details, add your registered company name, VAT ID and a Logo URL (https). The logo goes on invoice and receipt PDFs.
These are saved in live mode. API: Update an account with a live token.
Also set your Timezone under Settings > Technical (timezone in Update technical settings). Reports and dates in emails use it.
Add your products
Open Store > Products and click Add Product.
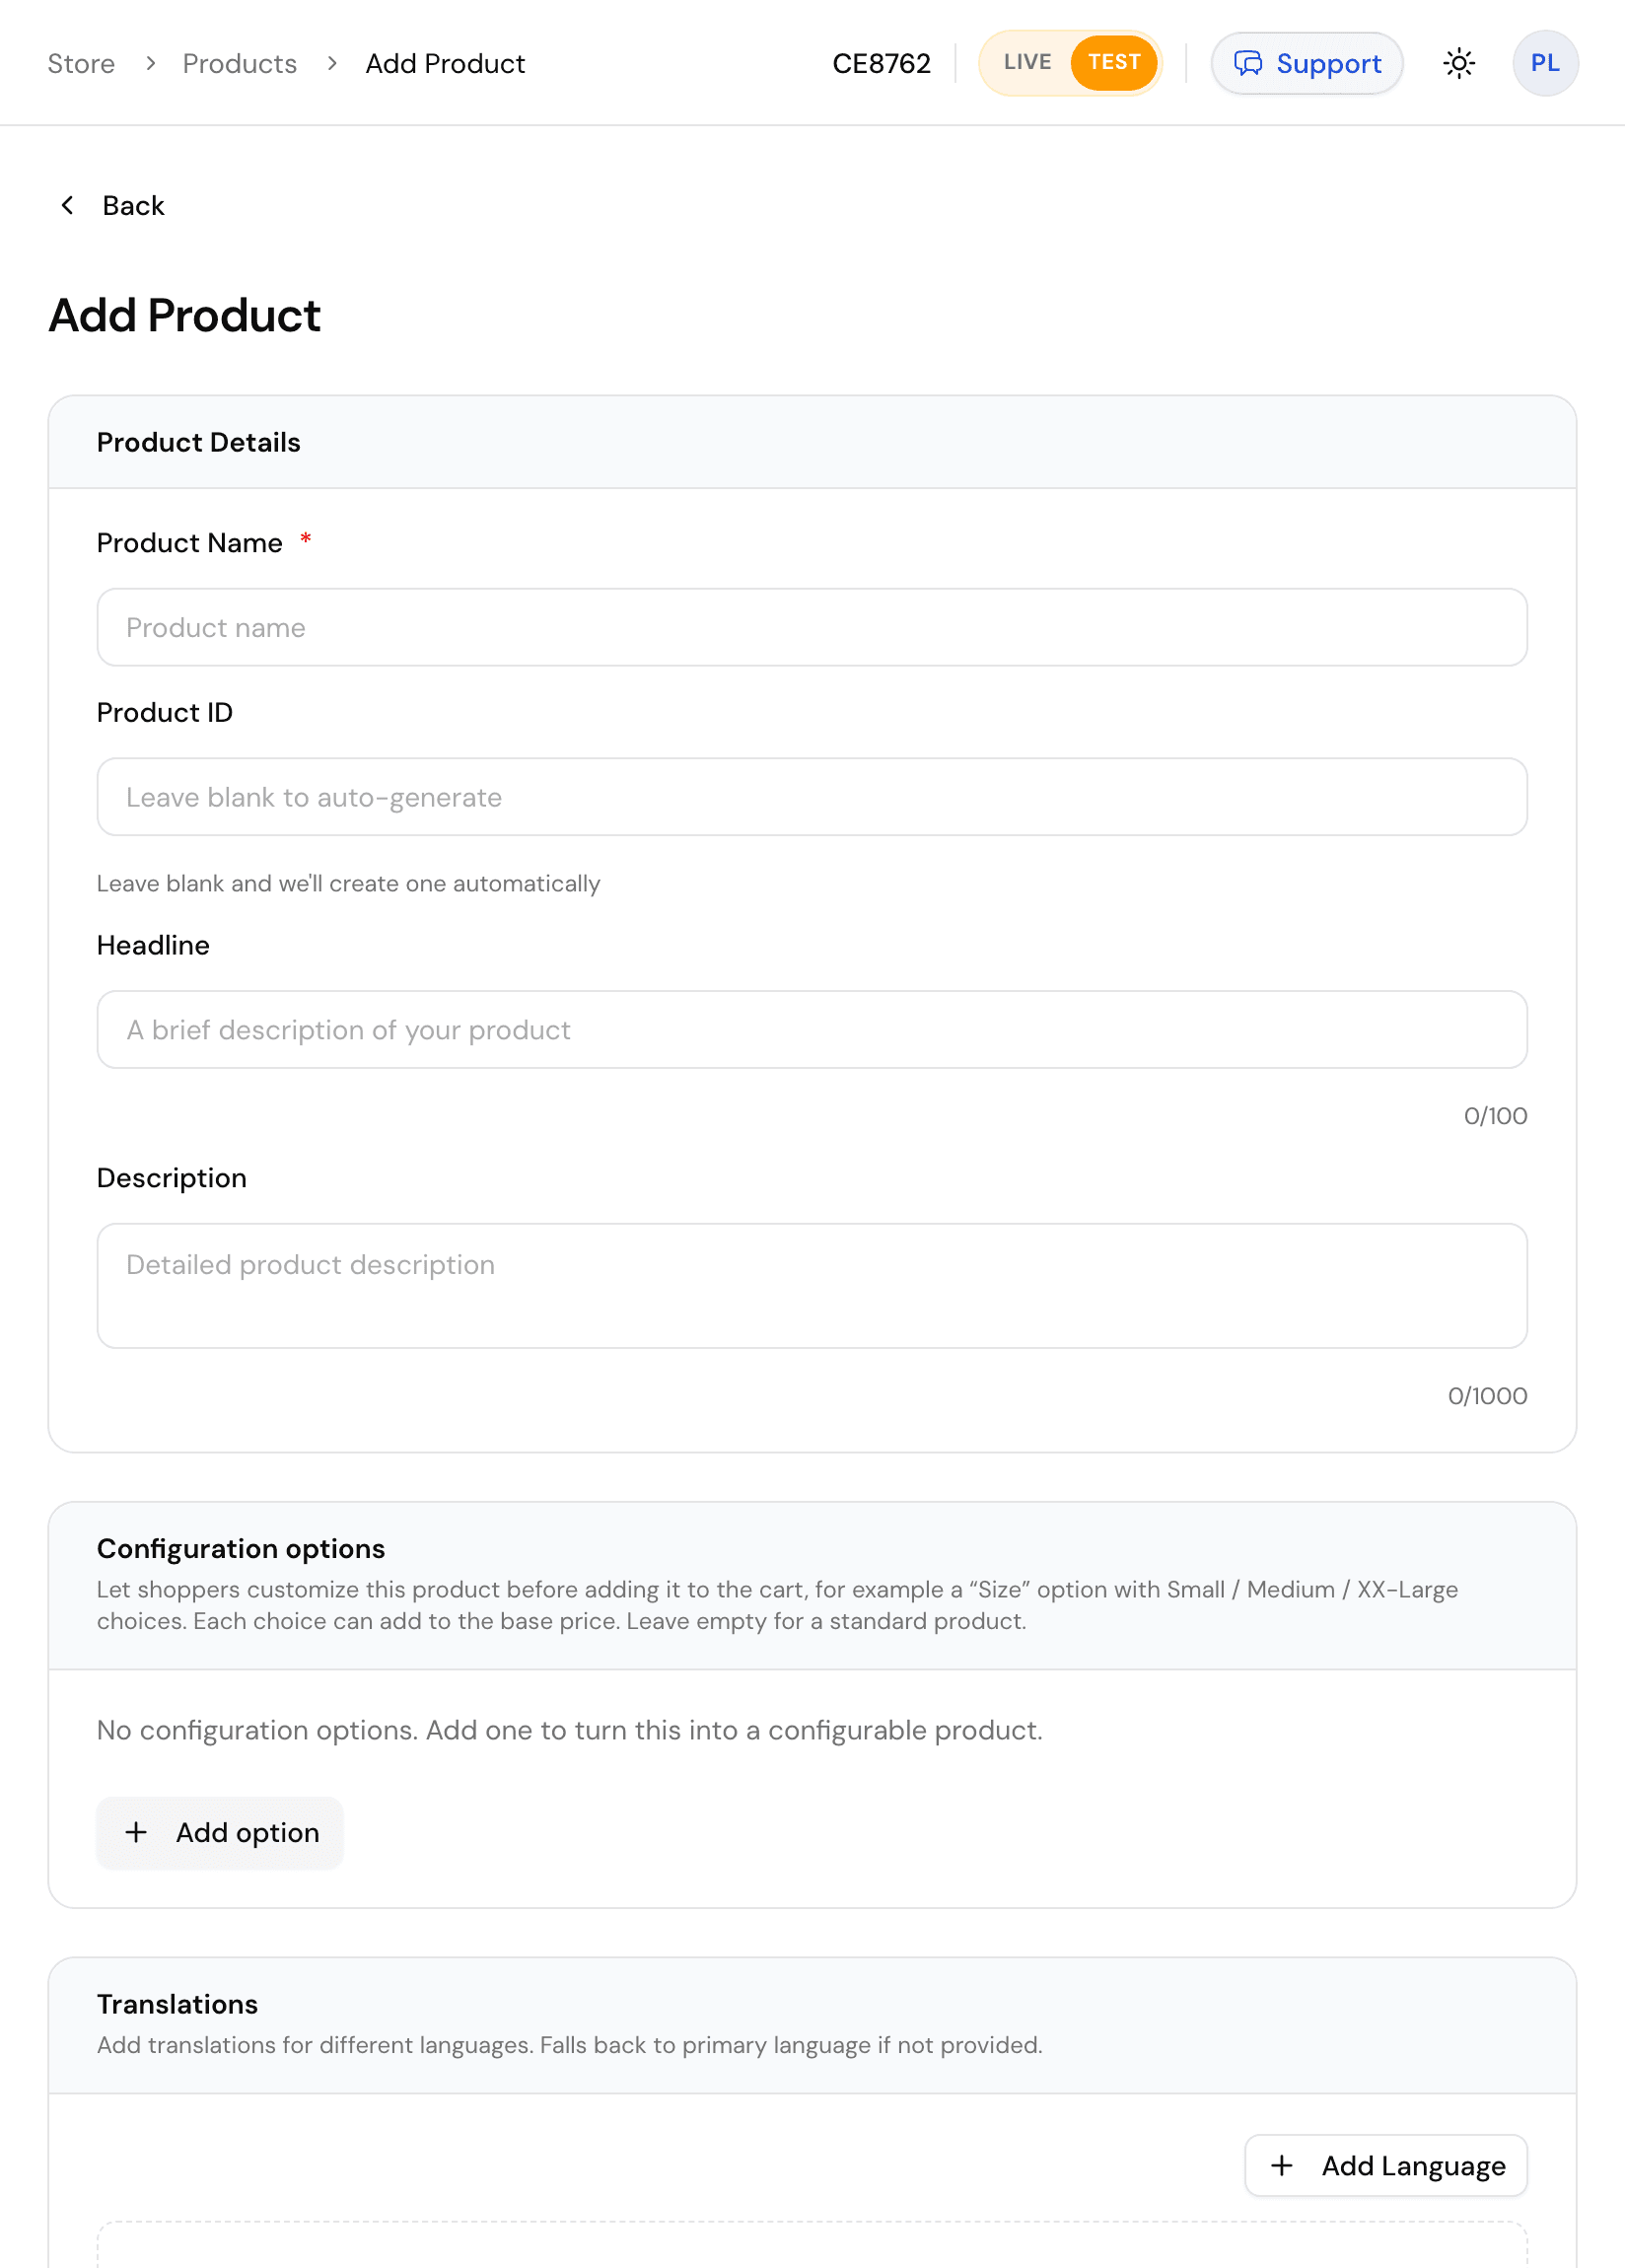
- Product Name is required. Product ID is made for you if you leave it empty. It may use letters, numbers,
.,-and_, and is stored in lower case. - Pricing: a price and currency. Click Add another currency to set a fixed price in more currencies.
- Type of Product: Digital, Physical or Service. It decides how tax is worked out. Digital products can have a File Download or a License Service; physical products have a Weight for shipping.
- Subscription Plan: pick one to sell the product as a subscription. See Subscriptions.
- Turn on Available for Purchase. It is off by default, and a product that is not available cannot be bought.
API: Create a product. It needs name, type and at least one price. In test mode, product ids end in .test.
Currencies
You can take any currency one of your active gateways takes. The shopper's currency comes from their country when a gateway takes it, or else your Default Payment Currency under Settings > Payment.
A product price you set for a currency is always used as it is. For other currencies, Comecero converts your first price at the day's rate, adds a small markup (3% unless you change it) and rounds it with your rules under Settings > Pricing, so converted prices look tidy.
Your Primary Reporting Currency and Secondary Reporting Currency under Settings > General are the currencies your reports total in. They cannot be changed after your first payment in that mode.
Tax
Open Settings > Tax.
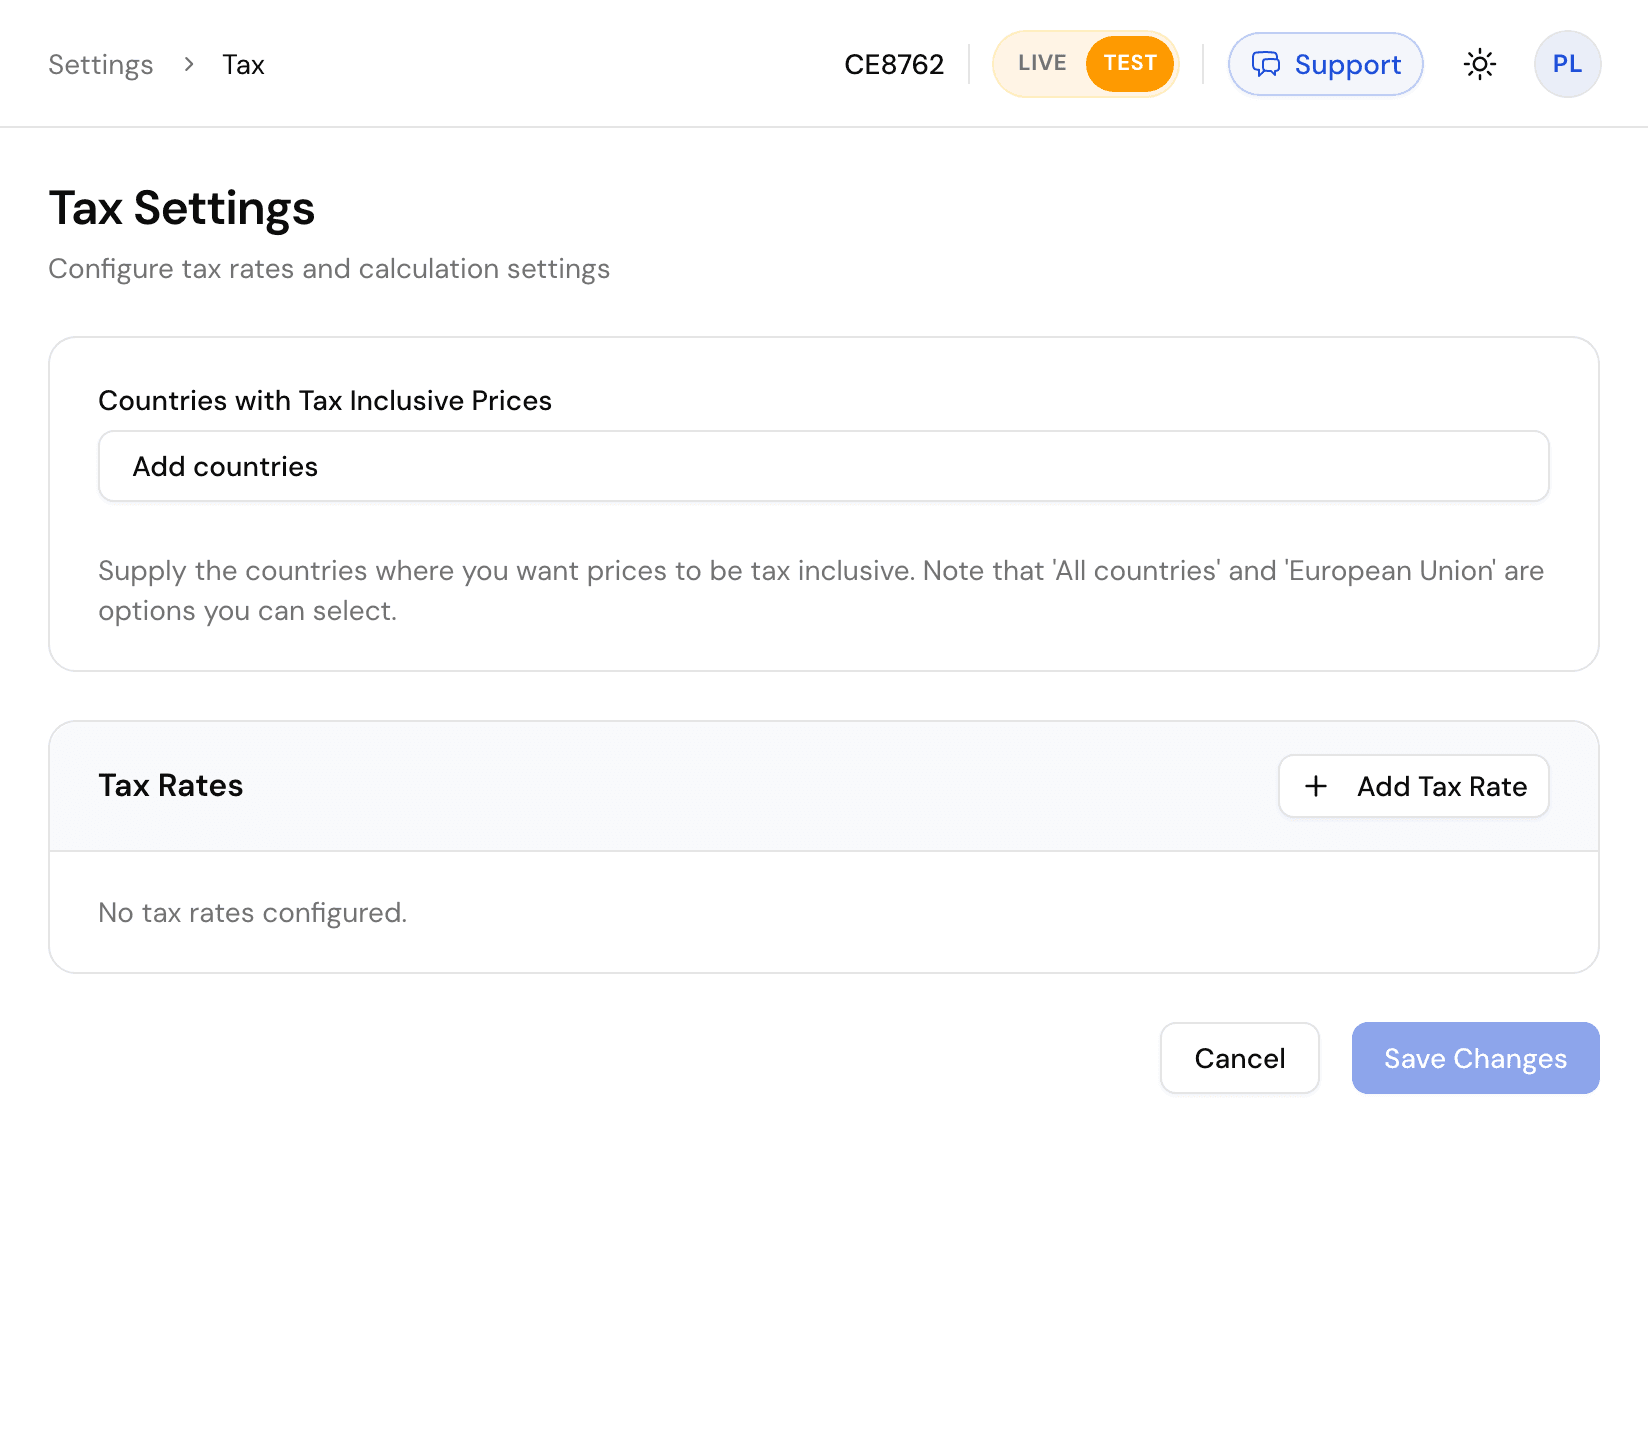
- Countries with Tax Inclusive Prices: in these countries your prices already include tax, as is usual in the EU. Elsewhere tax is added on top.
- Tax Rates: add a rule per country or state. Choose Automatically determine rate (US, Canada and the EU) or Use a rate I specify.
Business customers in the EU with a valid VAT number are checked and charged no VAT. API: Update tax settings.
Shipping
For physical products, open Store > Shipping Methods. Edit Standard Shipping or click Add Shipping Method, pick the countries, and how the price is worked out: by order subtotal, total weight or total quantity.
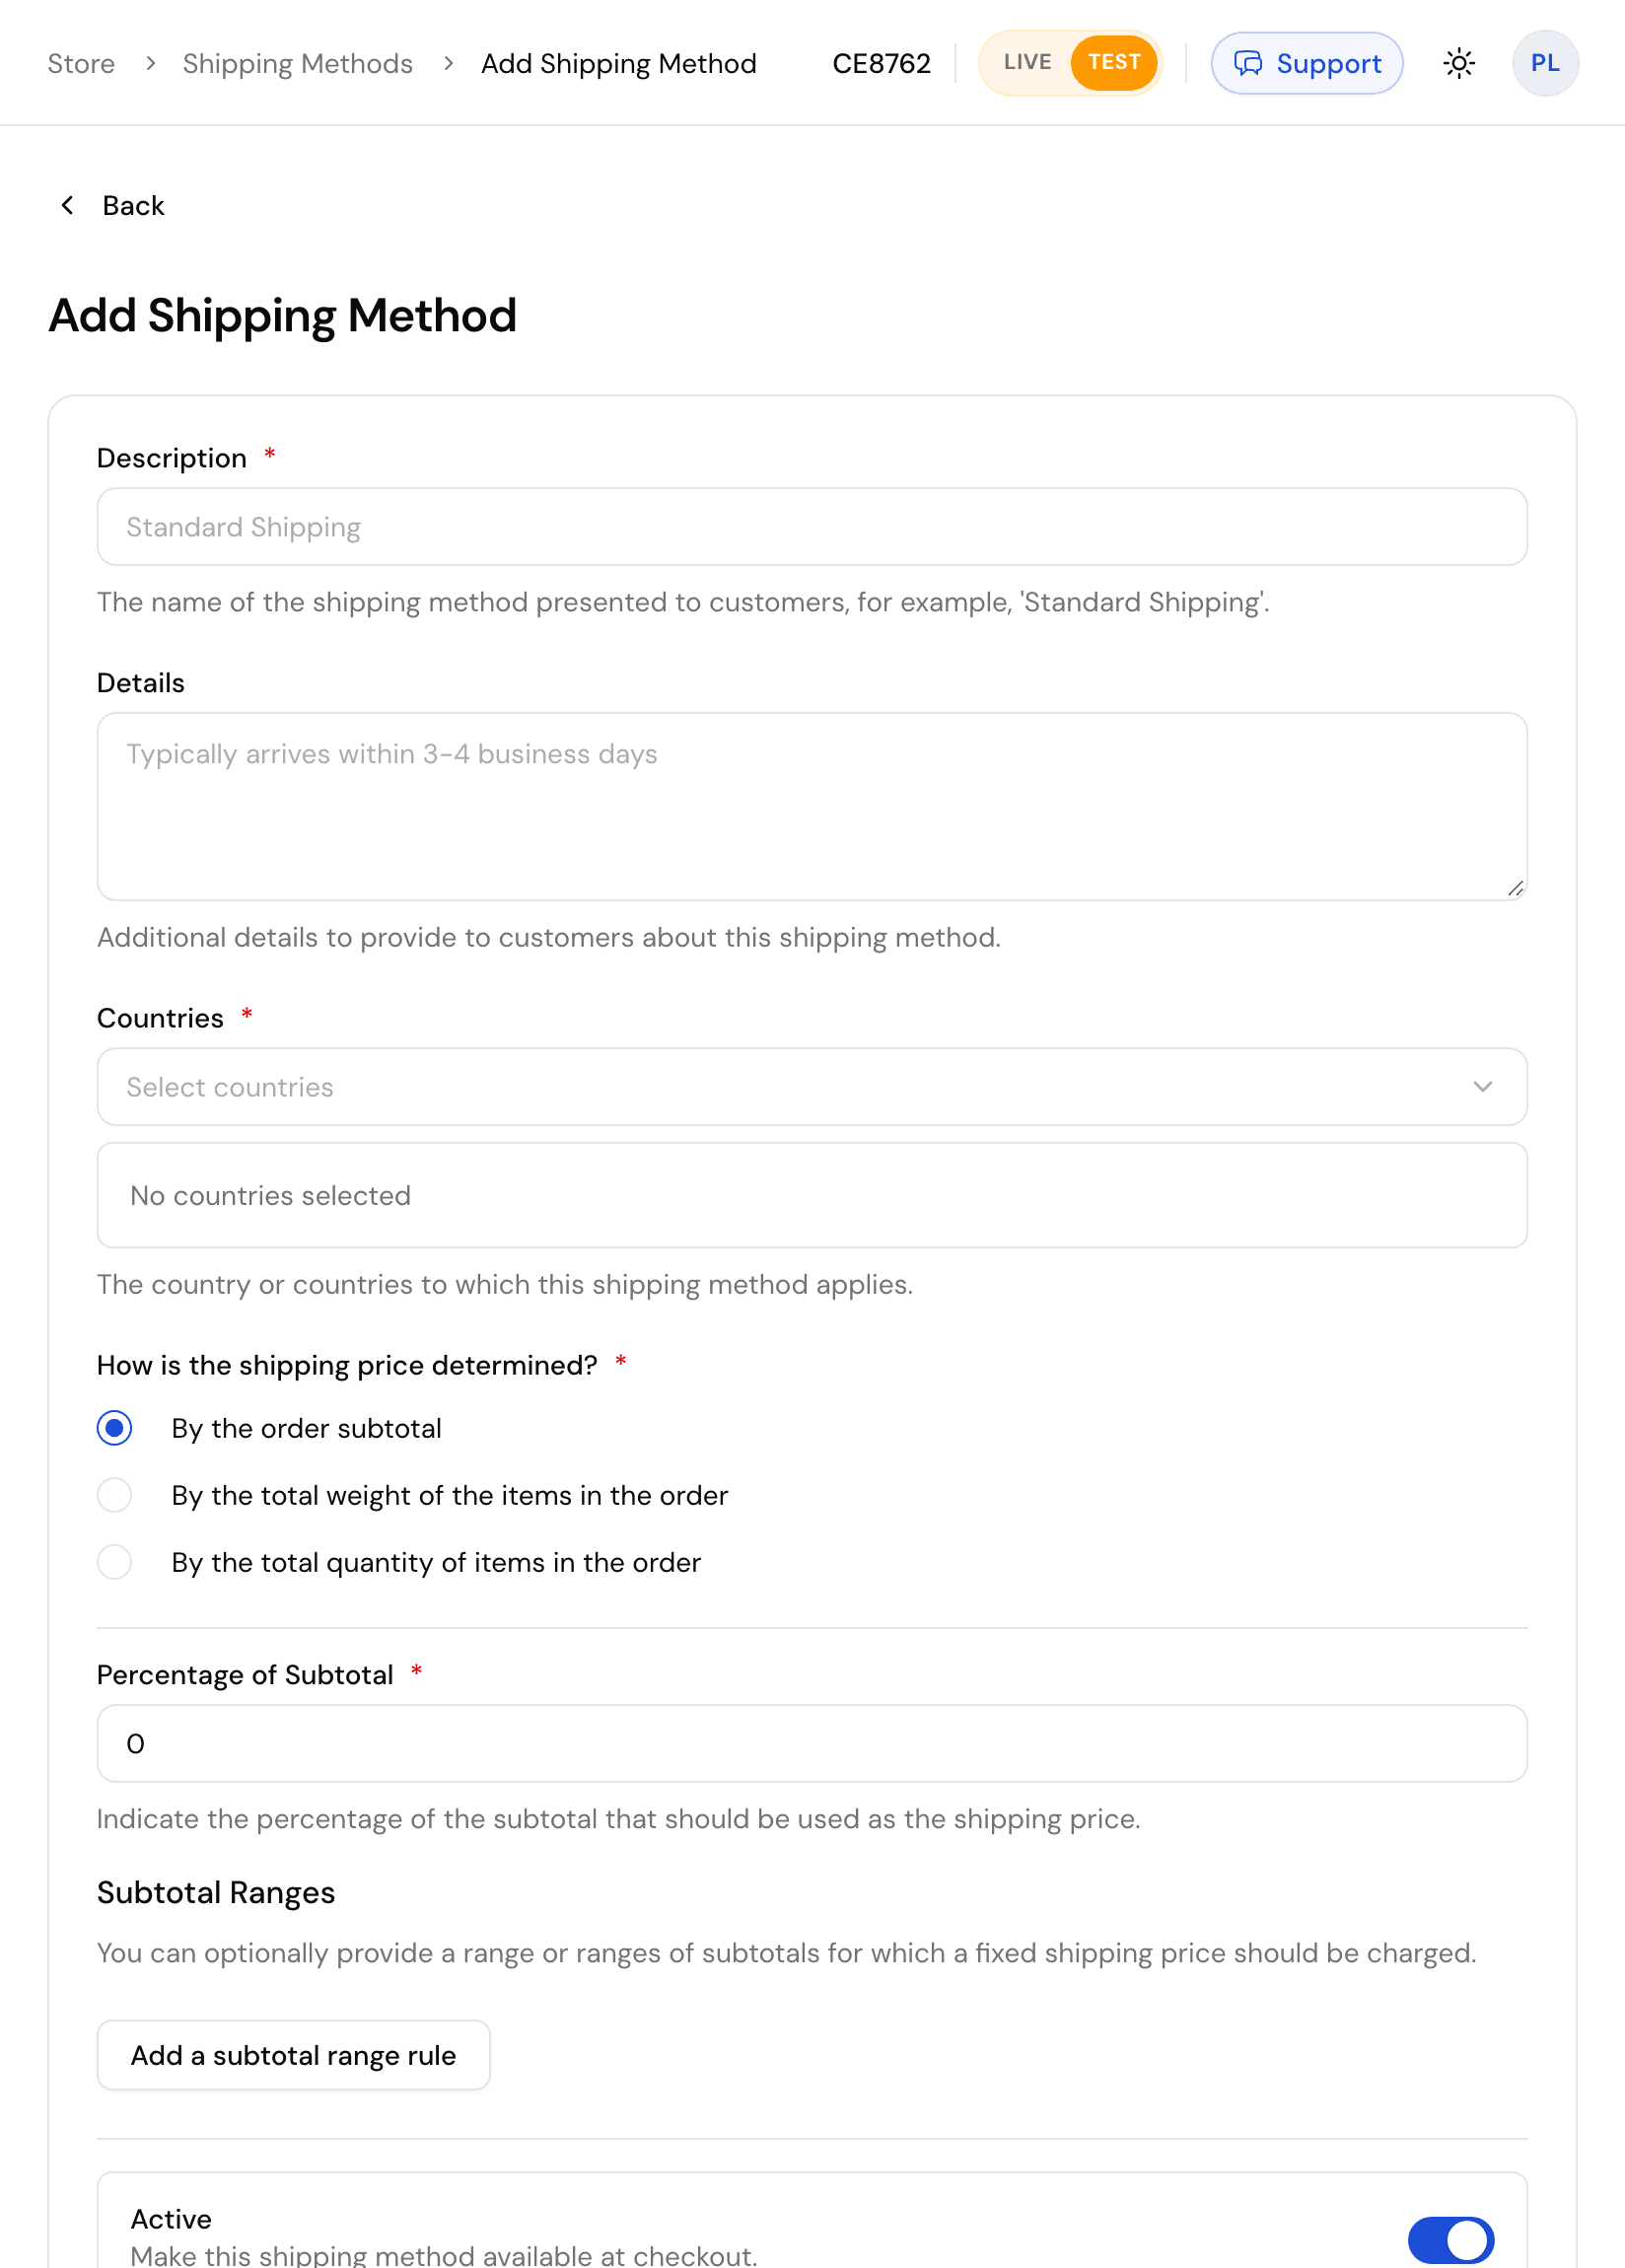
The rate types are explained in Shipping by subtotal, by weight and by quantity.
Get paid
Choose Comecero Express Payments or connect your own gateway. See Payment gateways.
Customer emails
Open Communications > Notification Subscriptions. Each email your customers get is listed here and already on: order, payment, refund and shipment confirmations, invoice and cart links, sign-in links, and subscription reminders and failed payments.
Open one to change its From Name, Reply To Email Address, BCC Email Address, Subject or Template, or to turn it off.
Emails come from notification@comecero.com with your company name. To send from your own address, add it under Settings > General, Notification From Email Addresses, and confirm it from the email you get.
Your shop's look
Open Storefront and the editor. In Brand, set your company name, logo and browser tab icon. In Theme, pick a design and your brand color. See Hosted shop for the pages and the links you can build, and Checkout button to sell from your own site.
Your team
Open Administration > Users and click Add User. Enter their name, username, email and a password, then either make them an account owner or pick what they may do under Permissions. Share the password with them yourself: no invite email is sent.
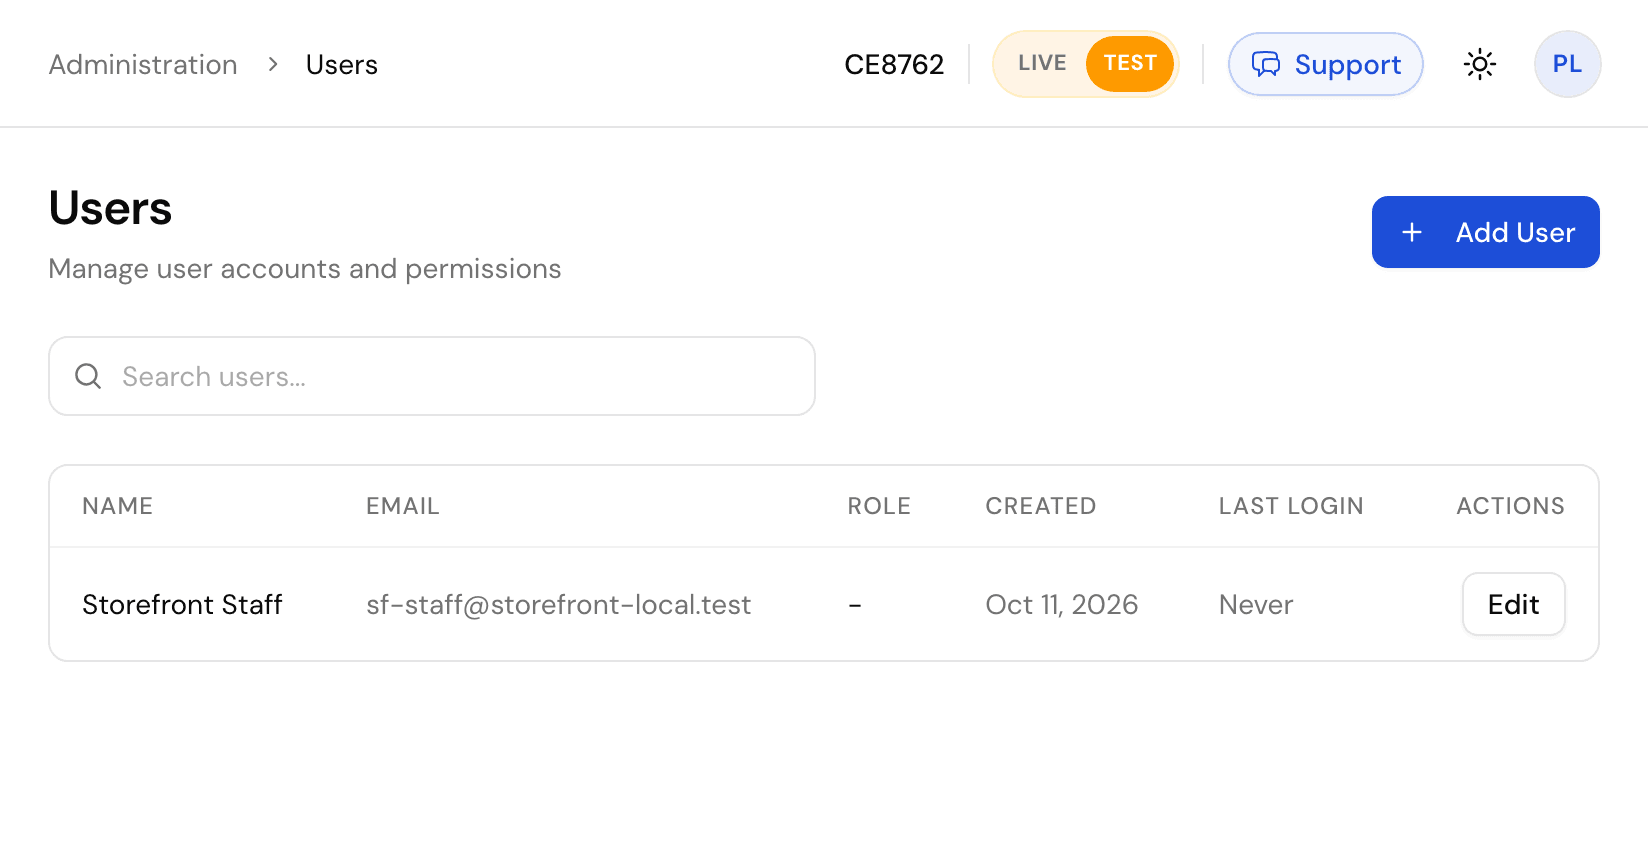
For apps and servers, make API tokens instead of users. See Authentication.
Next
- Take a test payment end to end: Quickstart.
- Get told about orders on your server: Webhooks.
- When everything works in test mode: Going live.
Account and test mode
Sign up for Comecero, keep test and live tokens and data apart, test payments with test cards for success and decline, and get ready to go live.
Build with AI
Connect Claude, Cursor, VS Code or ChatGPT to the Comecero docs with the MCP server, and read every page as Markdown, llms.txt or OpenAPI.